Tuesday, July 7, 2015

Bingen Park Mosaic


The summer started with a week-long mosaic project with the children of Bingen, Washington.  A new, and much needed, water fountain was scheduled to be added to the city park which provided a great opportunity for a new mosaic.  I spent the week with about 60 kids from the community.  They helped make the mosaic by breaking tile and laying the pieces in place.

Pratt and Larson donated the tile for this project.  They have a wonderful outlet center in the back of their showroom with very affordable tile.  Check them out if you are in Portland!

The space that was designated for the new water fountain used to be a water feature years ago.  We were able to start with a clean canvas and decided to pour a new slab of concrete in a circle, 14 feet in diameter.


I came up with a handful of designs, but decided to create a scene with the river, flowers in the grass, sky and sun.


I did my best to estimate the amount of tile we needed by drawing a circle in chalk on my driveway.  I laid out the black tile just to be on the safe side and knew I had enough for the project.
Once the new slab of concrete was poured, and the water foundation was installed, we were ready to transfer the design to the concrete.


Day One
We just completed the border and outline for the waves on the first day.  Kids from age 3- 14 helped with the project. Two high school students even volunteered each day.


Day Two
The process was a bit slower that I anticipated.  We were almost able to finish the water on the second day.


The kids LOVED breaking the tile!  The kids were given safety glasses, a recycled piece of billboard to use as their mat, a hammer, a demonstration and then were on their own to break the tile.


There was some unlevel concrete near the center of the piece so my husband helped patch and level it.  This dictated how the project was done.  It would have worked out better if we had started in the center and moved outward.


Day Three
The flowers were designed by the kids and the grass was started on day three.  The week we worked on this project happened to be extremely hot!  We were thankful for the small amount of shade a nearby tree gave us in the afternoon.


Day Four
We finished the grass and started in on the clouds.  By this point in the project, we were running out of tile colors and needed to be creative about how we used our remaining tile.


Day 5
We finished laying the tile.  In one week, we were able to create a beautiful mosaic!


Day 6
My husband and I spent 6 hours in the hot sun grouting the mosaic.  Grouting on a hot day is not a good idea since the grout dries so quickly, but that was the day we were available, so we went ahead and grouted anyway.


Here I am.  Hot, tired, sore, sun burnt, but DONE!


Saturday, March 7, 2015

Pottery with 2nd Graders


I had the pleasure of teaching 2nd graders at Westside Elementary about clay.  I chose two projects to have the students complete in 5 one hour sessions.

During the first session I read the book The Pottery Place by Gail Gibbons which gave the students a great background on pottery.


We discussed vocabulary while I demonstrated how to use the clay.  The students spent this first session trying out the techniques they learned.
Vocabulary words:
slab
coil
pinch pot
impression
score
slip
stick
smooth


During our second session together the students created flower impressions tiles using pasta, ends of marker containers, screws, caps, and any other items I could find that made an interesting impression.


Our third session together the students learned about stages of pottery and began making coil pots.


I copied this poster from a post I found on Pinterest.  


Greenware


Bisqueware ready to glaze


Duncan Concepts glaze


During our 4th and 5th sessions, the students glazed their finished pieces.


Aprons

I was looking for apron ideas for the Made in Mosier fundraiser for the Mosier School.  I settled on two techniques: ZenTangle and faux batik.


The Zantangle aprons were designed with ultra fine tip Sharpies and colored in with colored Sharpies and fabric markers.


I used Elmers Gel Glue to create the image for a faux batik look.  Once the glue dried overnight, I used acrylic paint to add color.


To remove the gel glue, soak the aprons in a sink full of water.  You may need to agitate the fabric in order to remove all the remaining glue.


Tuesday, January 13, 2015

Caudill Glassworks


Time to promote my amazing husband and his glass mosaics!


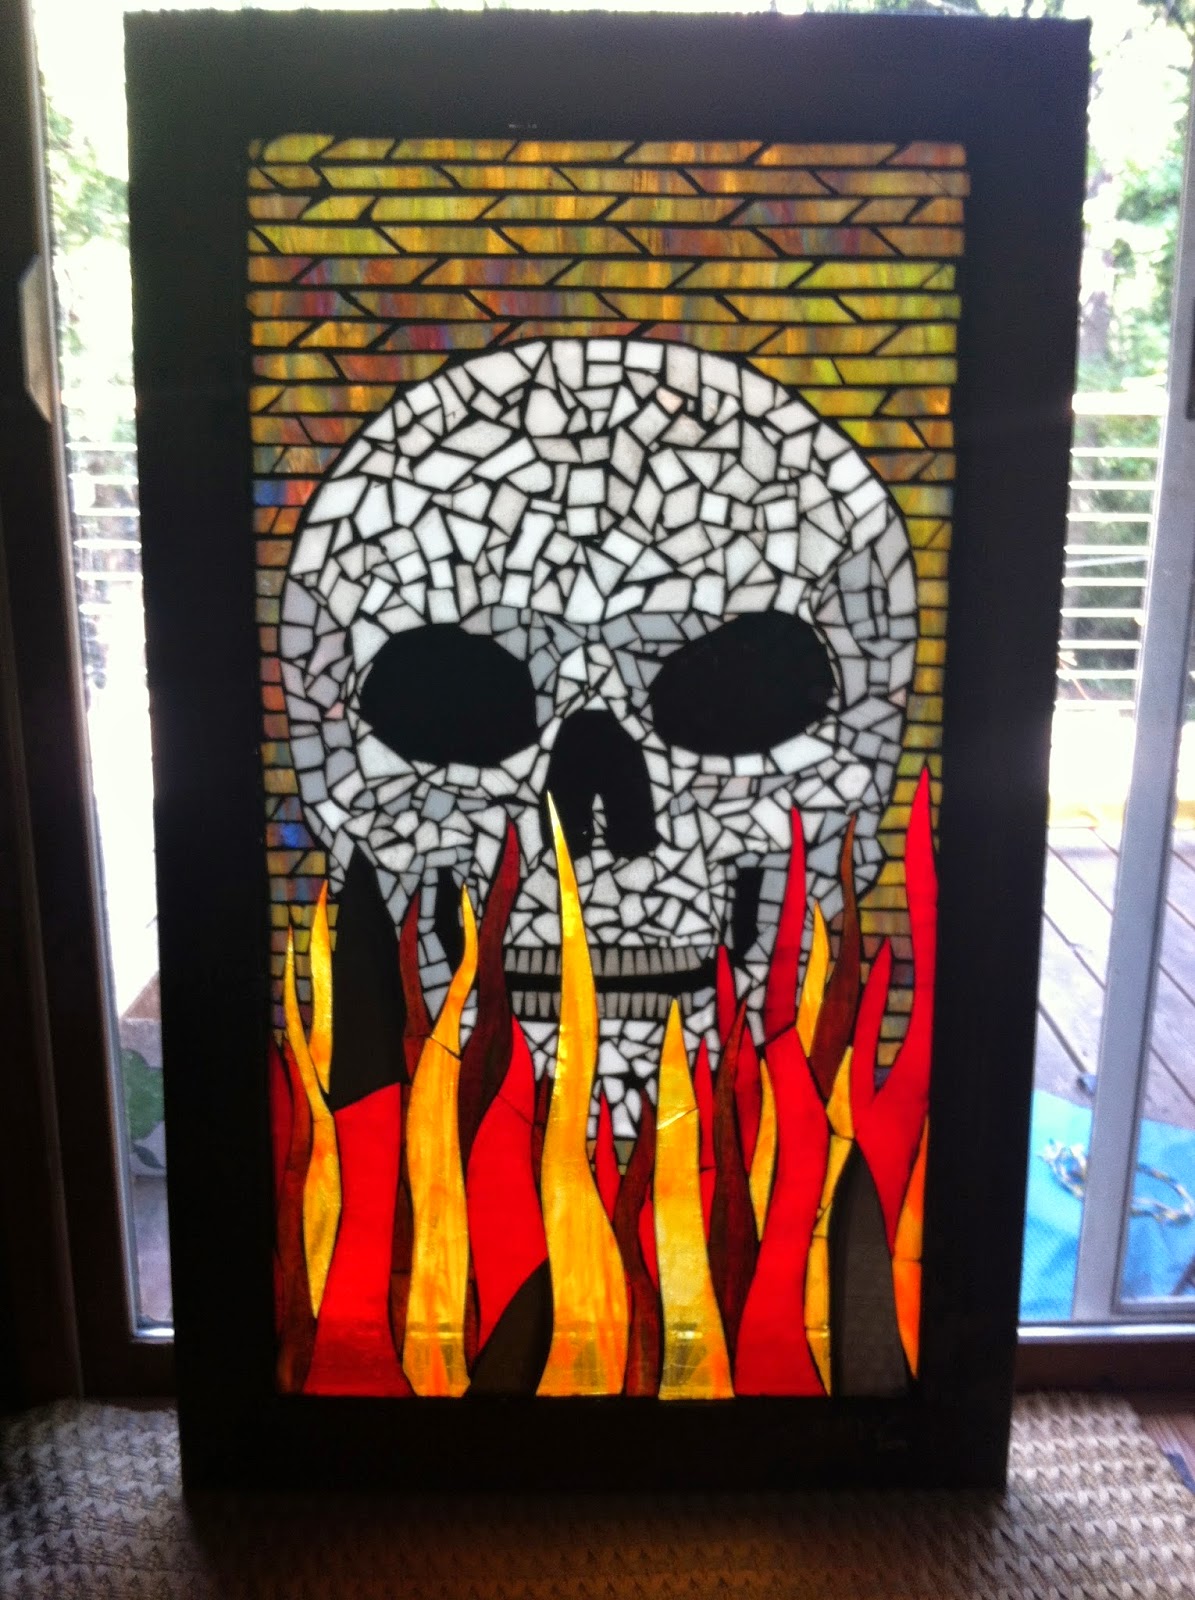
Jess has been working with glass for the past 10 years, becoming an expert in fused glass.  Lately, however, he has created glass mosaics on discarded widow frames.  This is a piece he was commission to create by a customer in Portland.


These are two pieces that are hanging at Dirty Finger Bike Shop in Hood River, Oregon.


Dia de Los Muertos skull in progress.  This was part of a show at the Columbia Gorge Art Center.


Jess has also been commissioned by local businesses to create their logo in glass.  This one is hanging at Waterfront Enodontics in Hood River. 


As a thank you for all his hard work, the Gorge Roller Girls gave this to our coach.   Notice the wheels, mouth guard and skate tool that were added to this piece.


This skull mosaic is hanging in the upstairs window of Discover Bikes in Hood River.  Jess incorporated bikes chains and gears throughout this piece.


A repeat customer commissioned this skull for his business.    I believe it was intended for the Portland location of Nella Cutlery.  Jess was given a handful of knives to add to the mosaic.  Can you find them within the flames?


These two skulls were part of the Dia de Los Muertos show at The Remains art gallery in Hood River.


The Modelo beer bottles were cut in half and added a three dimensional aspect to this piece.

Jess Caudill
caudillglassworks@gmail.com
https://www.facebook.com/caudillglassworks